There are many ways to charge your Tesla, some more complicated than others, so today we’re going to go over a complete overview of everything you need to know when it comes to charging your Tesla.
There are a couple of different charging methods to keep in mind when looking at owning a Tesla Vehicle. These methods are Home Charging, Destination Charging, and Charging Stations. Let’s break down each of these charging methods and dive into the details of how you can use each of these methods, and what exactly that entails.
Tesla Home Charging
Key Takeaways
- There are many ways to charge your Tesla, some more complicated than others, so today we’re going to go over a complete overview of everything you need to know when it comes to charging your Tesla.
- There are a couple of different charging methods to keep in mind when looking at owning a Tesla Vehicle.
- These methods are Home Charging, Destination Charging, and Charging Stations.
- Let’s break down each of these charging methods and dive into the details of how you can use each of these methods, and what exactly that entails.
There are 3 main ways to charge your Tesla vehicle at home, through the outlet, with the Tesla Wall Charger, and finally with the Power Wall. Each of these provides different charging rates and cost various amounts. Let’s dive into the details of each one so that you can decide which are the best options for you.
Outlet Charging
When it comes to charging your Tesla, the first and most basic option is to just use a normal electric outlet. When you buy a Tesla a 110-volt outlet adapter is included, you can use this included adapter to charge your vehicle through any normal 110-volt outlet.
When using this method of charging your car, you can expect to gain around 2 to 4 miles of range per hour charged.
This method doesn’t require an electrician to come out and does not incur any additional cost outside of the pure cost of the electricity used to charge the car.
Wall Connectors
The second charging method is through the use of the Tesla Wall Connector. The Tesla Wall Connector needs to be installed by an electrician but provides a much higher charging output for your vehicle.
Using this method you can expect to gain around 40 to 45 miles of range per hour charged. This is probably the most common at-home charging method with its ease of convenience and fast charge rate.
In terms of cost, you can expect a Tesla Wall Connector to cost around $500 plus the installation cost by the electrician.
Power Wall
The third and final charging method you can do at home is through the Powerwall which allows you to charge your car through the electrical panel. This isn’t as straightforward as the other two methods but will allow you to charge your car even during power outages.
The Power Wall is a big battery storage system usually hooked up to solar panels on your roof and provides a way to power both your house and your vehicle.
The Power Wall itself will cost around $7,000, but will most likely require you to get your house set up with additional functionality to support the ecosystem of generating electricity. This includes solar panels and electrical routing throughout your house.
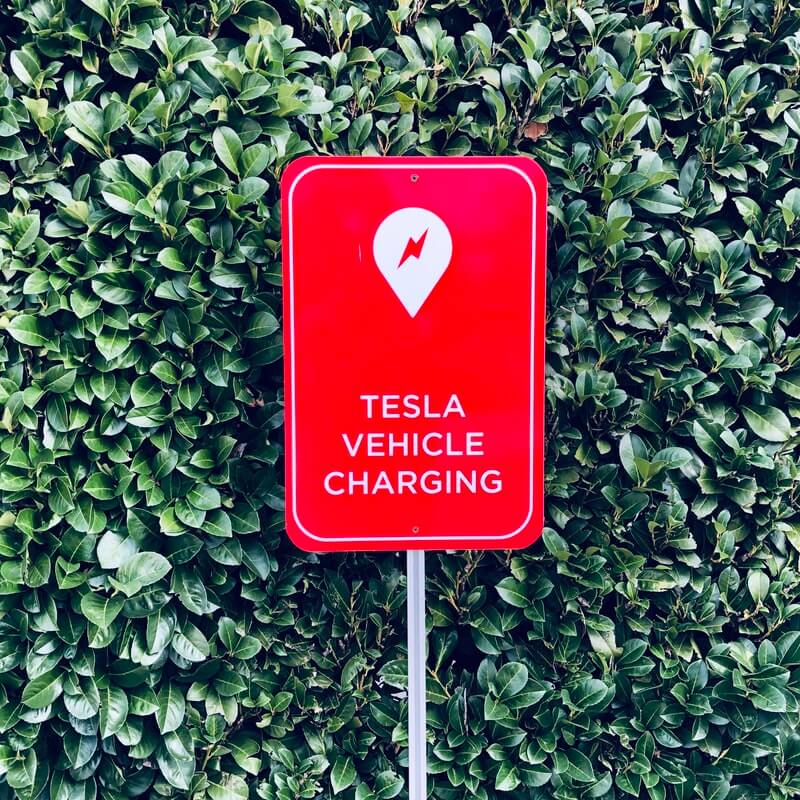
Tesla Destination Charging
Destination charging allows you to charge your Tesla vehicle at a variety of different locations while traveling. These locations are scattered across the world in places like restaurants, hotels, parking garages, hospitals, shopping centers, and other hospitable locations.
Currently, there is over 4,500 various destination charging locations across the United States.
To find any one of these locations, you can simply use the navigation device inside your Tesla to find the nearest location.
The destination charging locations have a very similar charge rate to that of the Tesla Wall Connector, as such you can expect anywhere from 33 to 45 miles of range per hour, based on the model of Tesla vehicle you have.
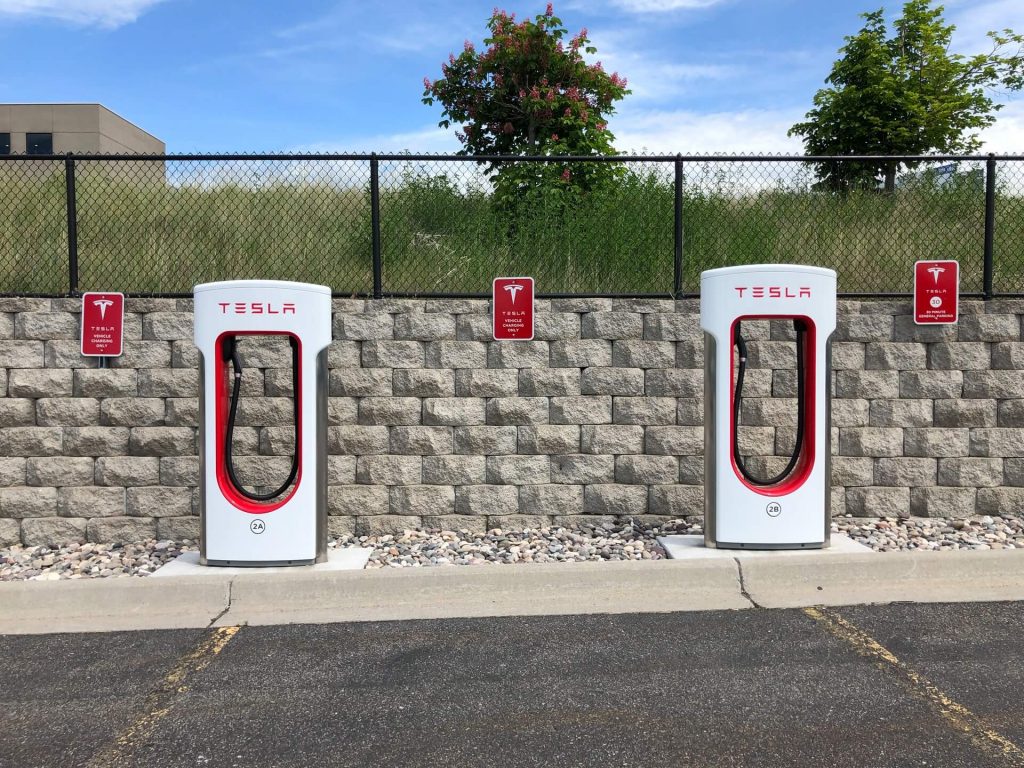
Tesla Supercharger Stations
The most powerful option when it comes to charging your Tesla is the supercharger stations, by far. These stations are specifically designed to charge your vehicle at a much faster rate than home or destination chargers.
In about 15 minutes of charging time, you can expect to gain around 200 miles of range, depending on your vehicle type. This is because the Superchargers use 480-volt direct current technology.
This often begs the question, why can’t you have a Supercharger at home? The biggest reason that these chargers cannot be installed at your home is that they require specialized energy transformers which are not allowed in residential areas.
In terms of pricing, there are 2 tiers when it comes to using t
he Supercharger, tier 1 and tier 2. “Tier 1” charging is applied when your car is charging at or below 60 kW, while “Tier 2” is applied when your car is above 60 kW. Tier 1 pricing is half as much as tier 2 and both are billed to the consumer per kilowatt-hour used.
On average you can expect the price to be around 28 cents per kWh used on most Superchargers. Do keep in mind that supercharger pricing fees can differ based on your location, so make sure to check before you use them.
Third-Party Charging Stations
With the rise in popularity of EV vehicles in general, there have been many third-party electric vehicles charging stations implemented across the world and this begs the question, do they work with Tesla Vehicles?
This is a bit more of an in-depth question and the answer is basically, it depends. If the charging station is labeled as one of the following: J1772, 120v, or 240v then it should work. That being said, each of these charging stations will require an adapter for the charging plug. Usually, these are included on vehicle delivery as the Mobile Connector Bundle. If it doesn’t have one of these labels or has a different label, it most likely will not work.
You can easily find any of these third-party charging stations with sites such as Plugshare.
How does charging work?
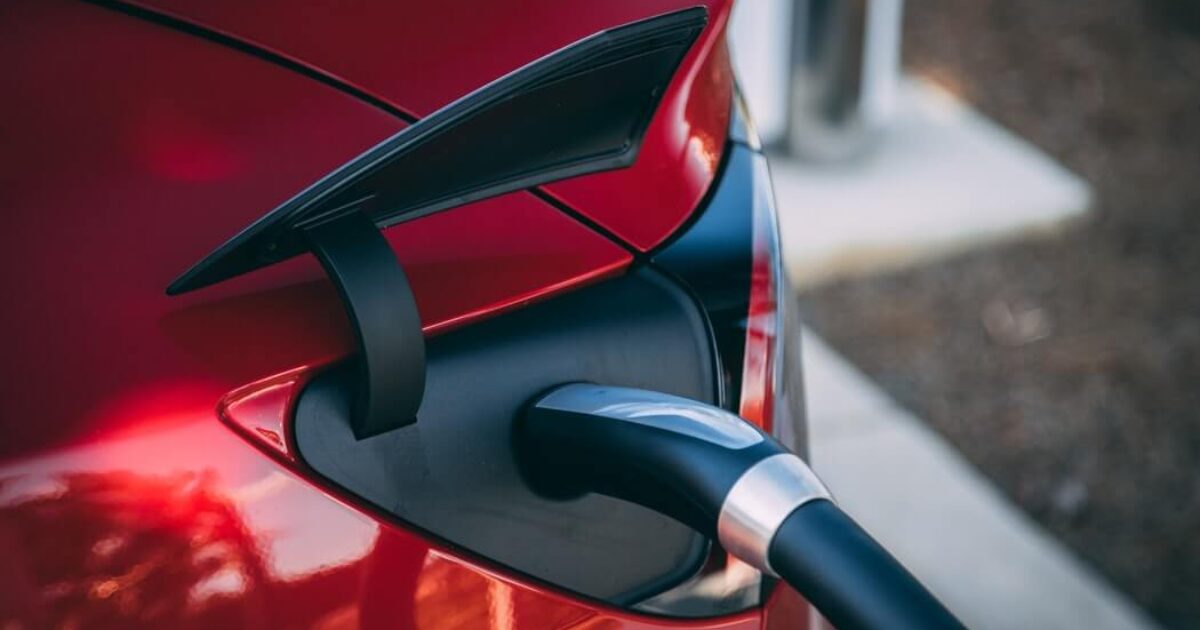
Now that we’ve gone over the various methods by which you can charge your Tesla, let’s dive into the actual charging part. Charging your Tesla can be very similar to how you would add gas to a normal car. If you’re at home, you can simply bring your charging cable over to your car’s charging port (normally located to the left of your tail light) and plug it right in.
If you’re at a destination charger or supercharger, you may have the added step of adding your account to the charger so that it can charge your account for the electricity used.
Tesla Charging Port
When it comes to charging your Tesla, it’s important to note the charging port. The charging port is located to the left of the tail light. This can be opened by bringing the charging cable close, pressing the button on the charging cable, or by using the key fob. Make sure the car is unlocked before trying to charge your Tesla, otherwise the charging port will not open.
On opening the charging port you should see the main plug for the charging cord as well as a Tesla logo. The Tesla logo light is an indicator of what is currently happening.
There are various colors that the Tesla Logo can show throughout the charging process that will give you information on what is happening. Here is a list of the different colors this logo can display and what they mean.
- White: The charge port door is open.
- Blue: The connector has been plugged in
- Blinking Blue: The Tesla is communicating with the connector (usually either preparing to charge or a charging session is scheduled)
- Blinking Green: Tesla is currently being charged.
- Solid Green: Charging has been completed.
- Solid Amber: The connector is not fully plugged in.
- Blinking Amber: The car is charging at a reduced rate.
- Red: A Fault was detected and charging has stopped. (If this occurs you can check the control panel for what went wrong.)
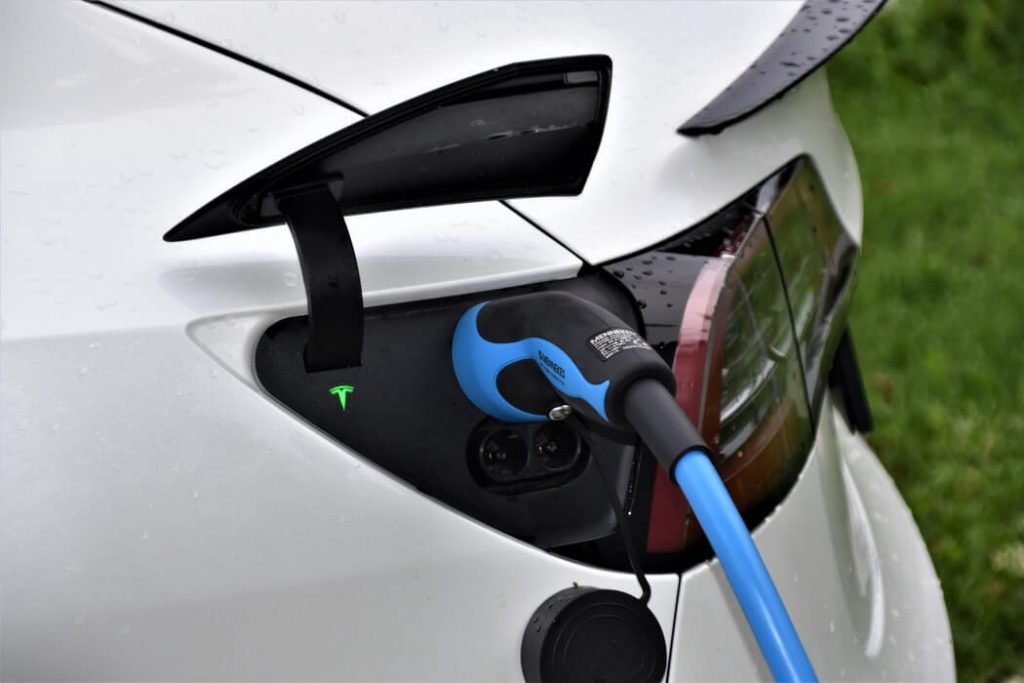
Tesla Charging Plug
The charging plug/nozzle itself is pretty simple. Just as you would when filling up a car with gas, you bring over the nozzle/plug to the charging port and plug it right in.
You may find that the plug won’t fit into the charging port in some situations. This can happen at various charging stations if the station itself is not using the proprietary Tesla connector. To solve this issue, Tesla Charging Plugs have various adapters that you can use.
To use an adapter, simply put the adapter into the charging port, then you should be able to plug the charging plug/nozzle into the adapter. If it worked you should see the Tesla logo on the charging port light up with the correct color, as stated above.
Things to keep in mind
It can seem rather daunting when it’s your first time trying to charge your Tesla, especially if you’ve never owned an EV before. But it’s good to note that it is rather simple once you get the hang of it, just like using any gas vehicle.
The biggest learning curve is the light indicators on your charging port, using the correct charging nozzle adapter when at specific stations, and the payment system at some charging stations. Once you get a hang of these three things, it couldn’t be any more simple.
Join the conversation!
Please share your thoughts about this article below. We value your opinions, and would love to see you add to the discussion!